


You are here
How to Make Healthy Fudge
This is for fudge and brownie lovers out there who want to enjoy their decadent squares sans flour and refined sugar.
For a look at this recipe without pictures, view:
Start by adding about two cups of almond butter to a large mixing bowl. Today, I used about 500 grams of almond butter - every last bit that I could get out of a small jar.
You can use raw almond butter or roasted almond butter. I find that roasted almond butter is a better choice for this recipe, as it mixes more easily than the raw form, and roasted almond butter also has this great aroma and flavor that can't be matched by any other nut butter.
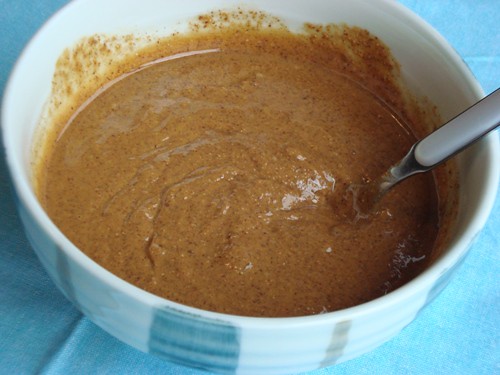
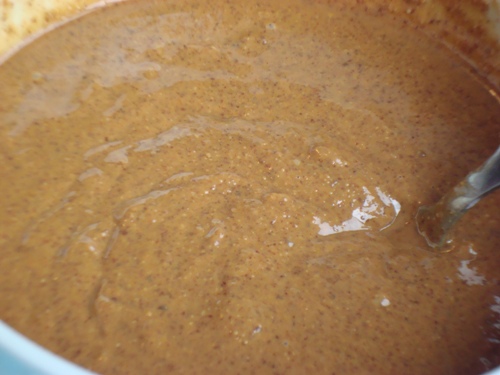
Be sure to add all of the naturally occurring almond oil that sits at the top of the jar - this oil is essential to getting a good mix. Use a fork to bring the almond butter and oil together and to smooth out any clumps that might come out of the jar.
This is about what the consistently should look like:
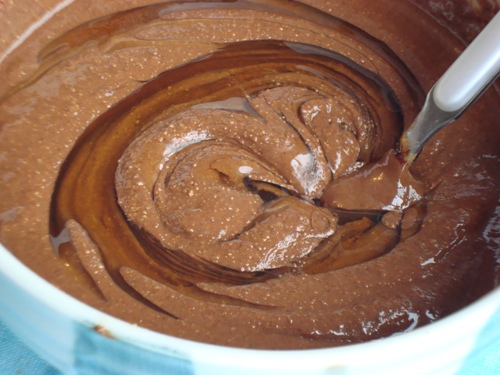
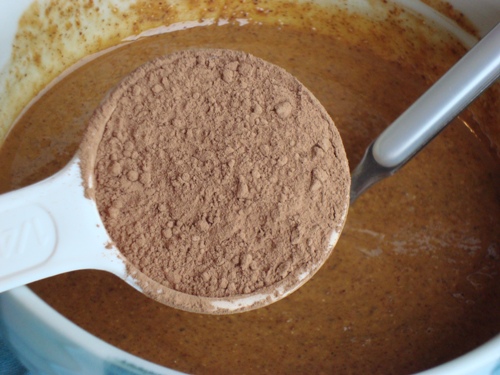
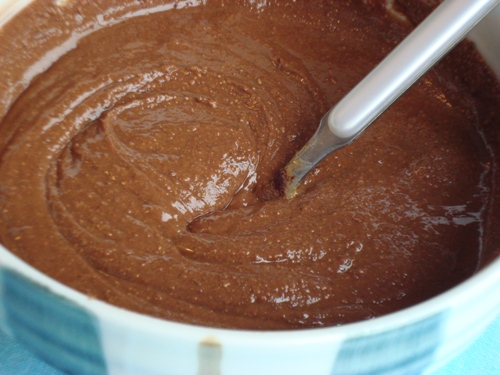
Next, add a quarter cup of raw cocoa powder to the almond butter. A tasty way to get heart-healthy flavonoids into your system.
Give things a good mix with a fork until the chocolate is well incorporated with the almond butter. Here's about what it should look like:
Next, add about half a cup of raw honey.
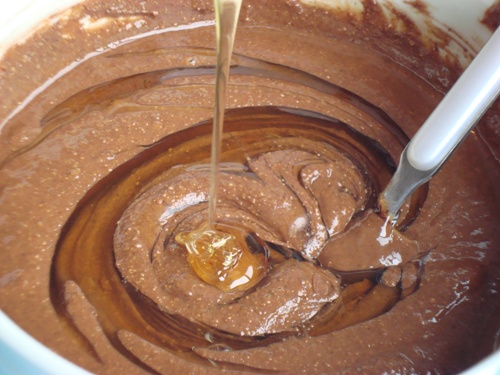
Give it another loving mix until the honey is evenly distributed.
Now if you have it, you can add a tablespoon of coconut oil to the mix. If your coconut oil isn't soft and close to being in liquid form, heat it up before adding it.

Adding coconut oil improves the healthy fatty acid content of this recipe, and also adds a bit of silkiness to the final product, but we've enjoyed these fudge squares without coconut oil on several occasions, so no worries if you don't have easy access to coconut oil.
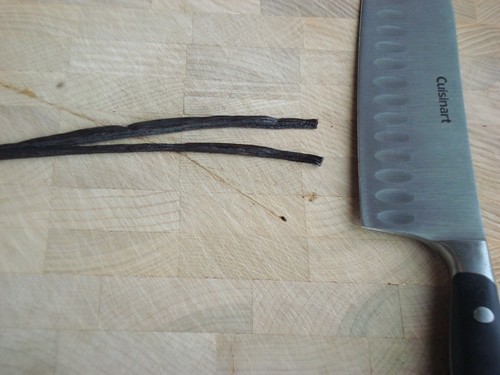
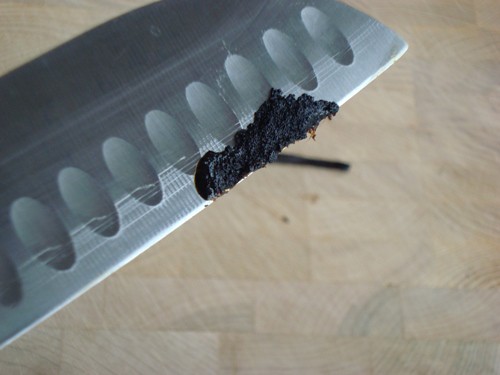
Next, if you have a cured vanilla bean, open her up, scrape out as many fresh vanilla bean specks as you can, and add them to the mix. If you don't have a vanilla bean lying around but still want some vanilla flavor, it's fine to add a teaspoon or two of vanilla extract. We've gone without any vanilla altogether, so no worries if you don't have the real thing or some extract.

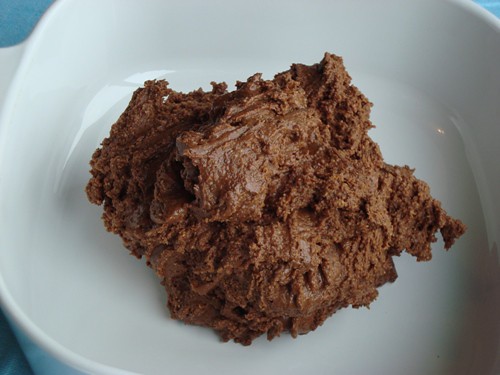
Here's what your edible "batter" should look like once the vanilla and coconut oil are mixed in with a fork:
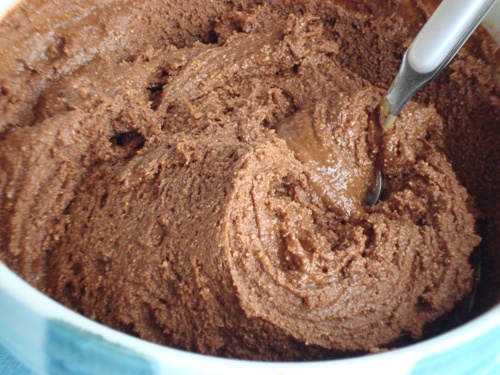
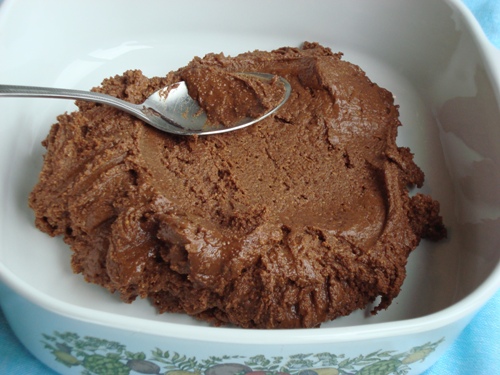
And now for the final ingredient, just a modest teaspoon of sea salt to add an extra kick of flavor and to help enhance the flavors of all of the other ingredients:

After giving things a good mix to evenly distribute the sea salt, transfer your batter into a casserole dish or baking pan - just anything that's about the size of a regular pie plate.
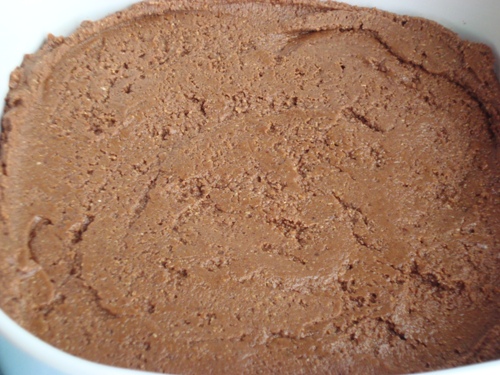
Now use a spatula - or in a pinch, the back of a spoon - to spread the batter out until it lies relatively flat in the dish, about half an inch to a full inch in height. It's fine to leave it a bit higher, but not too much, as you want to be able to easily cut through it after it's spent some time in the freezer.
Here's about what it should look like when you're done:
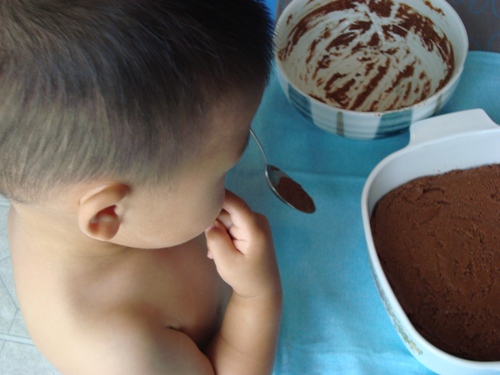
Now try to get it in the freezer before a little munchkin comes along looking to make a fine mess out of your creation.
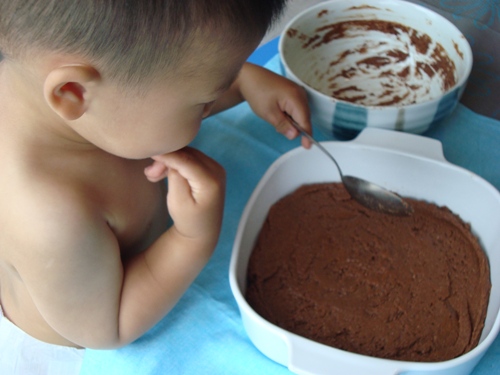
Well, if someone must have a taste right away, know that the batter is healthy and safe to eat straight away.
After all the taste testing is done, put the fudge/brownies away in the freezer and let things sit for a good 24 hours.
Once the batter hardens, you can cut off one-inch squares as needed. We find that the texture continues to harden as the days go by, and we like these fudge squares best after about the second or third day of sitting in the freezer.
Just one thing: they begin to melt slowly after a few seconds of being in contact with your fingers, so bring out only what you need and devour them up at an efficient pace.
Hope this pictorial proves to be helpful. Don't forget that you can access this recipe without the pictures for printing purposes here:
Bon appetite!