


You are here
How to Make Healthy Banana Cream Pie
 If you can use a go-to healthy dessert recipe for any occasion, you have to give this banana cream pie a try. Not only is it mouthwateringly good, it's super simple to put together - all you need are ripe bananas, a bit of maple syrup, and some unroasted, unsalted almonds.
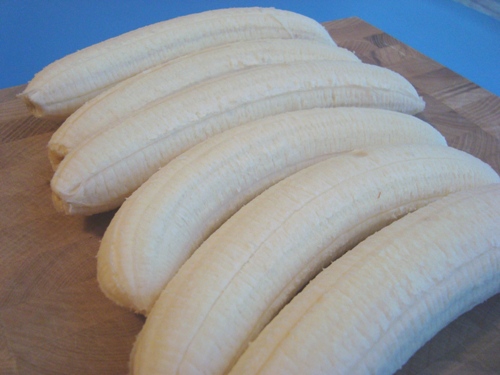
Start by peeling four to six ripe bananas.
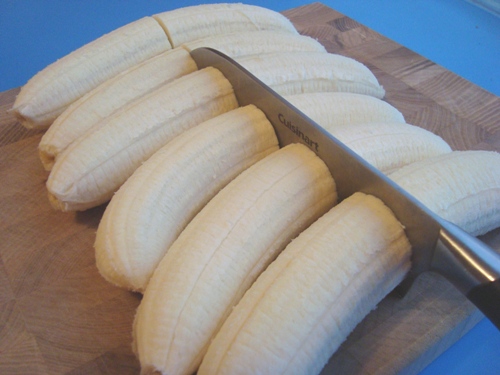
Cut them in half.
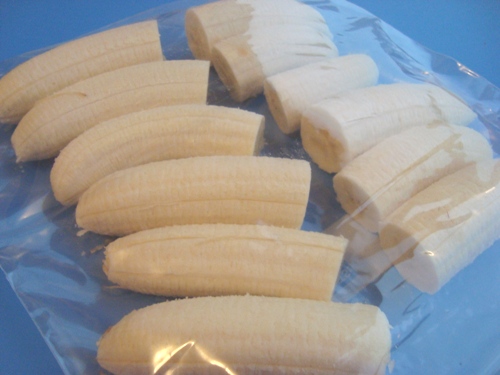
And pack them up in a zip lock bag or container and put them away in the freezer to freeze overnight. Or if you do this in the morning, please note that it typically takes about six to eight hours for bananas to freeze.
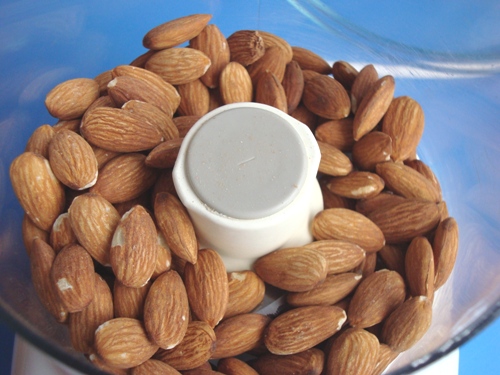
Measure out about two cups of unroasted, unsalted almonds.

To turn the frozen bananas into the rich and creamy filling for this pie, I use our champion juicer. If you have a champion juicer, this is definitely the best way to do it. If you don't have a champion, no worries - you can still make the filling with a good blender, as I'll describe below.
Just so it's clear how the champion juicer turns frozen bananas into all-natural ice cream that's as good as and certainly far healthier than any store-bought variety, here's a look at the blade of the champion:
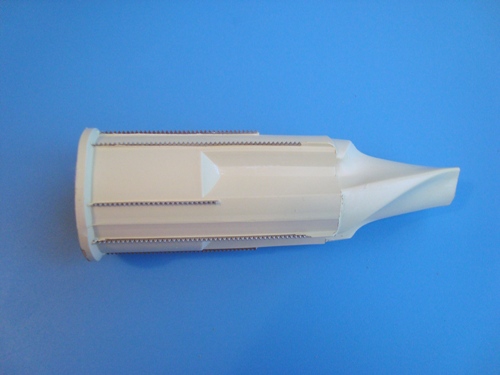
Below is the chute and churning compartment that fits over the blade. The flat, solid piece in the middle is where you'd normally use a similar piece that has a stainless steel mesh that allows freshly pressed juices to flow out. By using a solid screen, the frozen bananas will be forced out the side end of the chute where the pulp of vegetables and fruits is normally ejected.
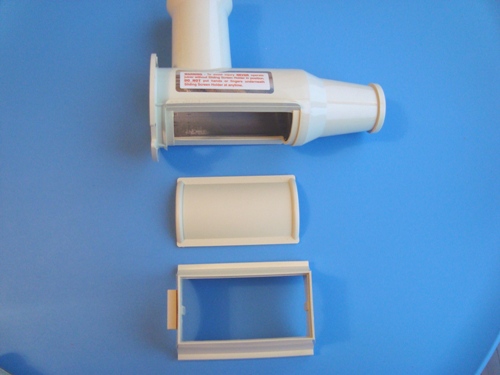
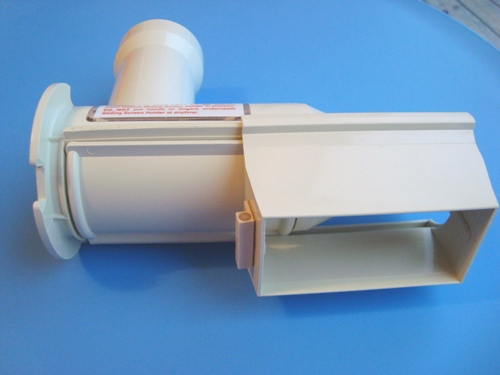
Just to give you a view of how the solid screen is locked in:
To make the crust for this pie, transfer almonds to a food processor. Two cups of almonds will make a relatively thin crust for most average-size pie plates. If you like a bit of a thicker crust, use 2.5 or even 3 cups of almonds. If you end up making a little more crust than you need, simply roll up the leftovers into little energy balls or cookies.
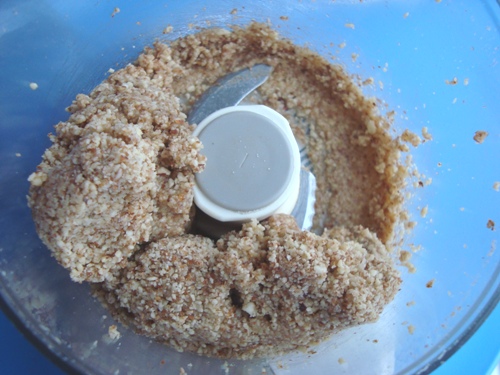
Process the almonds until they look something like this:
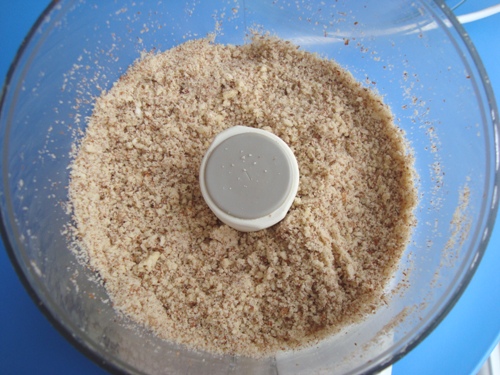
If you use a strong blender like a Vita-Mix, you'll want to be careful not to over-blend, as you could end up with almond butter, which wouldn't work as well for this crust.
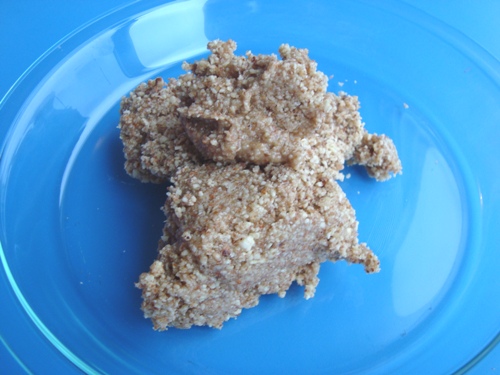
Now, with the processor running, add a touch of maple syrup in a slow drizzle. For two cups of almonds, all you'll need is about a tablespoon of maple syrup to bring things together. Just keep the drizzle as thin as possible and stop as soon as the ground almonds begin to come together like a sticky dough.

You'll be ready to press the crust into a pie plate when your ground almonds and maple syrup combine to look something like this:
Transfer crust to a medium size pie plate. You don't need to oil the plate, as the natural oils from the almonds will prevent sticking when you cut and serve this up.
Give your hands an extra cleaning and use the pads of your fingers to evenly distribute the crust along the bottom and sides of the pie plate - this is the hardest part of the entire process. If you don't like your fingers getting a little sticky, you can try using a spatula or wooden spoon to press down and spread the crust, though the crust may repeatedly stick to your utensil.

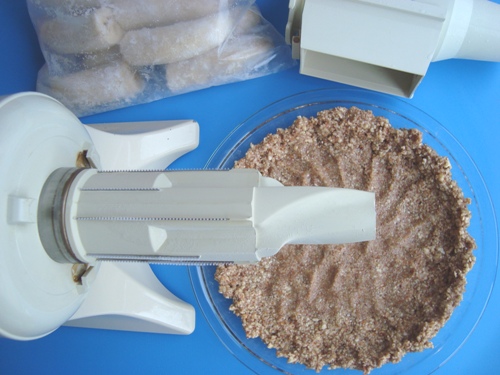
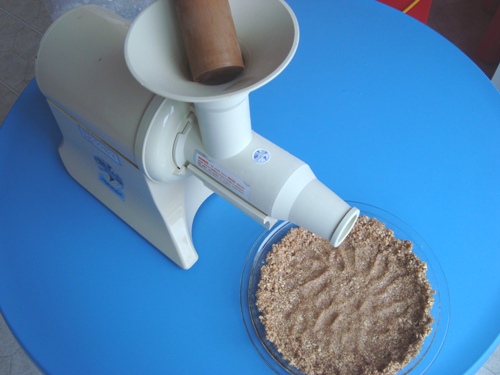
Now, if you're using a champion juicer, position it so the chute where the pulp comes out is centered over the pie crust. If you don't have a champion juicer, you can use a strong blender, and add just enough almond milk or non-dairy cream like coconut cream to blend your frozen bananas into banana ice cream.
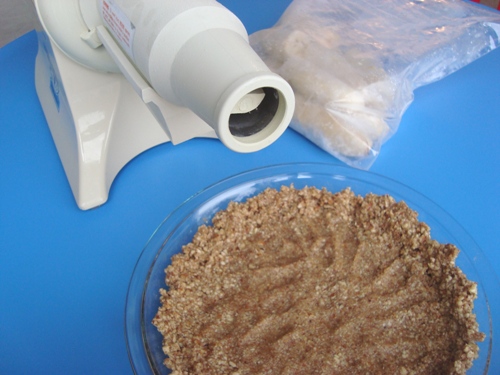
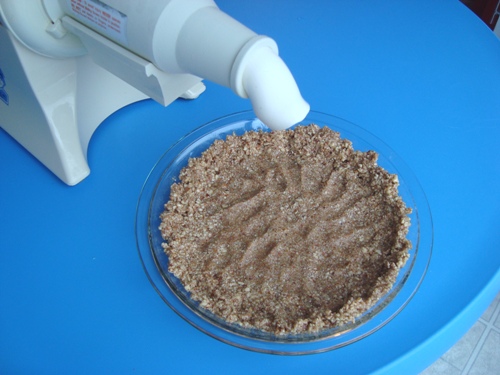
Another view of the set-up:
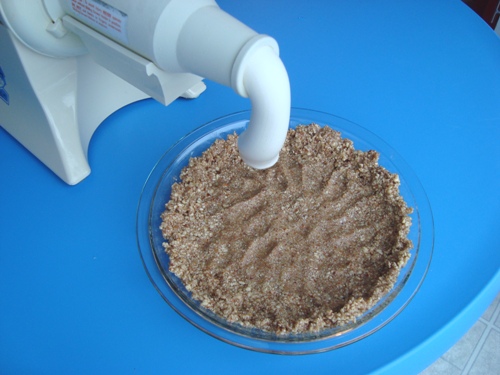
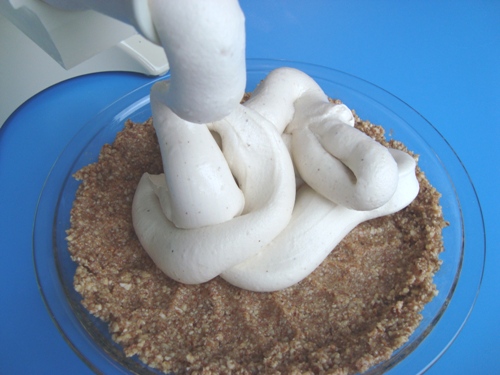
Now use the plunger of the champion juicer to feed frozen bananas into the chute. This will require a bit of elbow grease - just apply strong and steady downward pressure on the plunger, and keep the frozen banana pieces flowing through this baby.
Please note that for best results, you want to put the chute, blade, and plunger in the freezer for at least 15 minutes prior to making this banana ice cream filling.
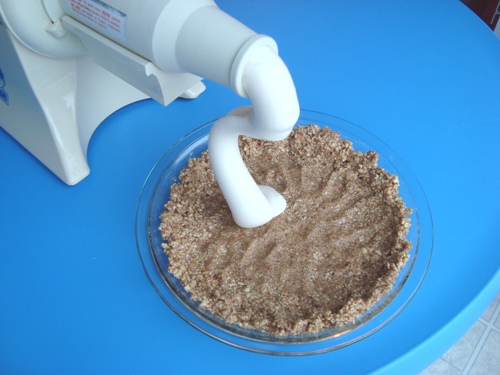
A look at the ice cream filling coming out:
After you've filled up your crust with a generous amount of banana ice cream, use a spatula or wooden spoon to evenly distribute the ice cream and smooth it out.
And voila, here's what you'll be left with:
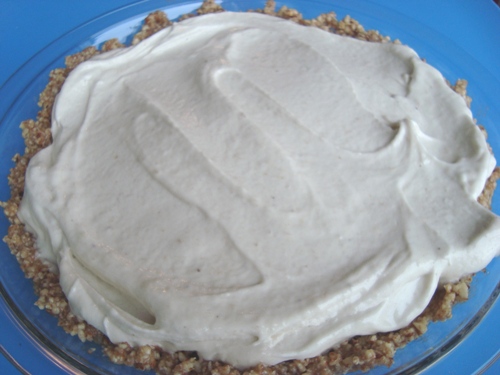
You can serve this up right away, when the ice cream is cold, creamy, and soft.
Or if you prefer your ice cream firm and somewhat hard, put the pie into the freezer and serve an hour later. This pie stays fresh in the freezer for several days, so you can enjoy it slice by slice over a week or so, should it last that long.
Just in case you missed it above, what if you don't have a champion juicer?
When you take the frozen banana pieces out of the freezer, let them sit for a bit at room temperature until they thaw out just a tad, enough to give a little to pressure. Then, put them in a strong blender and blend until you get something similar to the ice cream filling shown above.
If your blender isn't strong enough to turn frozen (thawed) banana pieces into ice cream, add just enough almond milk to get things going.
Once you have it down, you can create endless variations that sing with different textures and flavors.
For example, you can add a bit of raw cocoa powder to the ground almonds before adding the maple syrup to create a chocolate crust.
You can use soaked pecans and dates instead of almonds and maple syrup to create a softer, chewier crust. If this sounds good to you, check out the following recipe to see how to bring pecans and dates together: Recipe for Healthy Energy Balls
You can top the pie with fresh fruit - blueberries, strawberries, raspberries, and blackberries all look lovely with the banana ice cream as a rich and creamy backdrop.
If you enjoy the flavor and richness of coconut, you can add a little coconut oil to the crust, or sprinkle some dried coconut on top just before serving.
Or as a special treat, you can sprinkle some dark chocolate chips or carob chips on top before serving.
When mango season comes around, you can create mango ice cream filling by freezing frozen mango slices and going through the same process shown above. Ditto for most fruits, though bananas and mangoes work best because they become naturally creamy when they are frozen and homogenized, especially bananas.
And of course, you can always make just the ice cream and enjoy a truly healthy alternative to Häagen-Daz and Ben & Jerry's.
If you're interested in getting a champion juicer to make natural ice cream and freshly pressed juices, you can go here: Household and Commercial Champion Juicers.
If you want to get a super strong blender that far surpasses the performance of the best blenders that you'll find at department stores, please feel free to view: The Vita-Mix Blender.
Using a strong blender rather than the champion juicer makes it easier to flavor your natural ice creams with things like vanilla beans, cocoa powder, and coconut butter or coconut oil. But you'll get the very best ice cream-like consistency by using the solid plate that comes with champion juicers.
If you give this recipe a try and would like to share some feedback, or have suggestions on variations, please use the comments section below.
Enjoy!